Html course shaji
I am a beginner to web development wanna become a MERN stack developer
About HTML and CSS🍕
So basically HTML is Hypertext Markup Language..... I know it seems boring but let's make it creative....😀
So basically, 👆 HTML5 is the latest version that we use nowadays, and CSS3 is also the latest one!
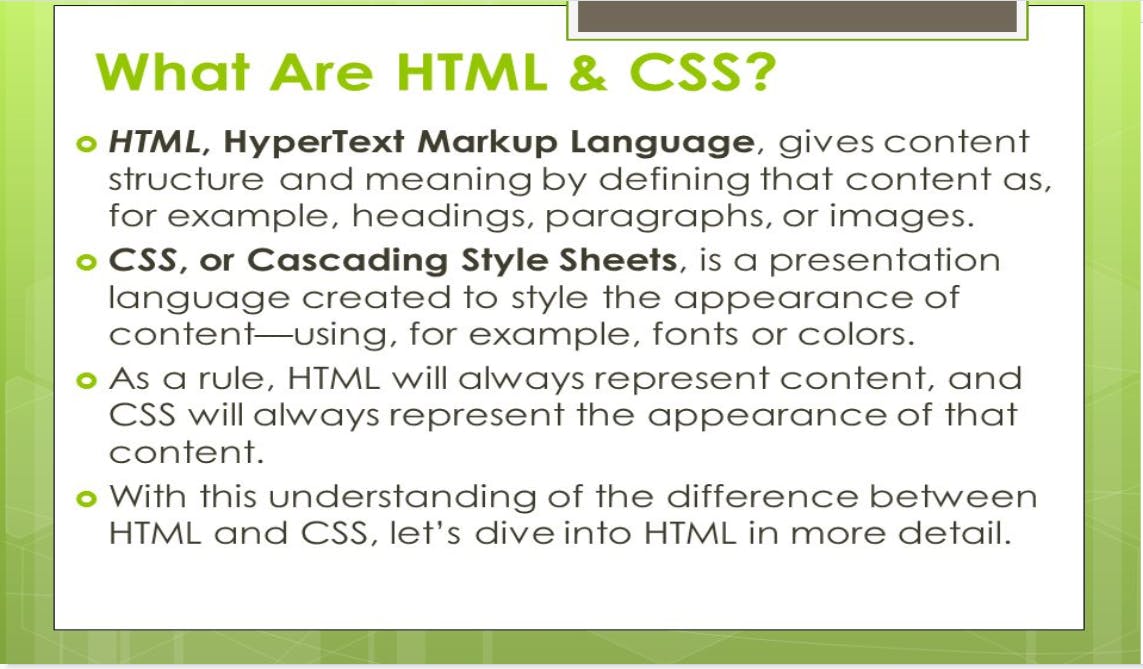
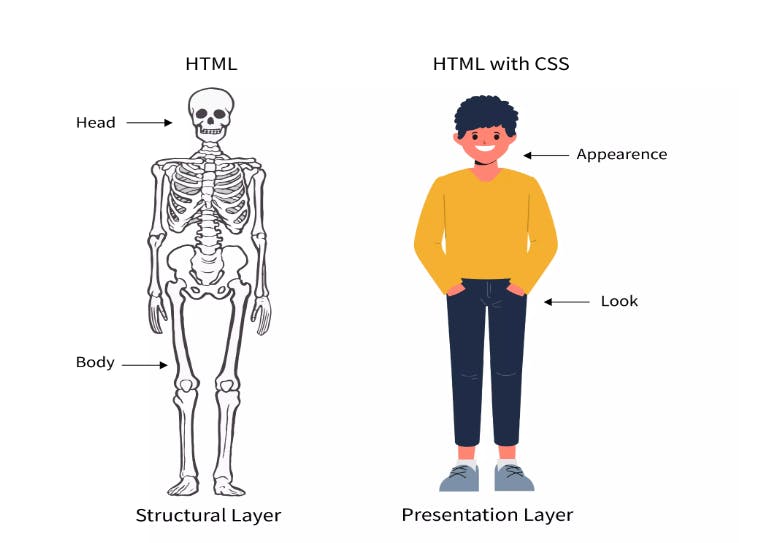
So, you need to read this out and let me explain it in just one line: Basically, HTML is the Structure of the website and CSS is the Presentation of the website...
But you don't need to worry about CSS right now😉
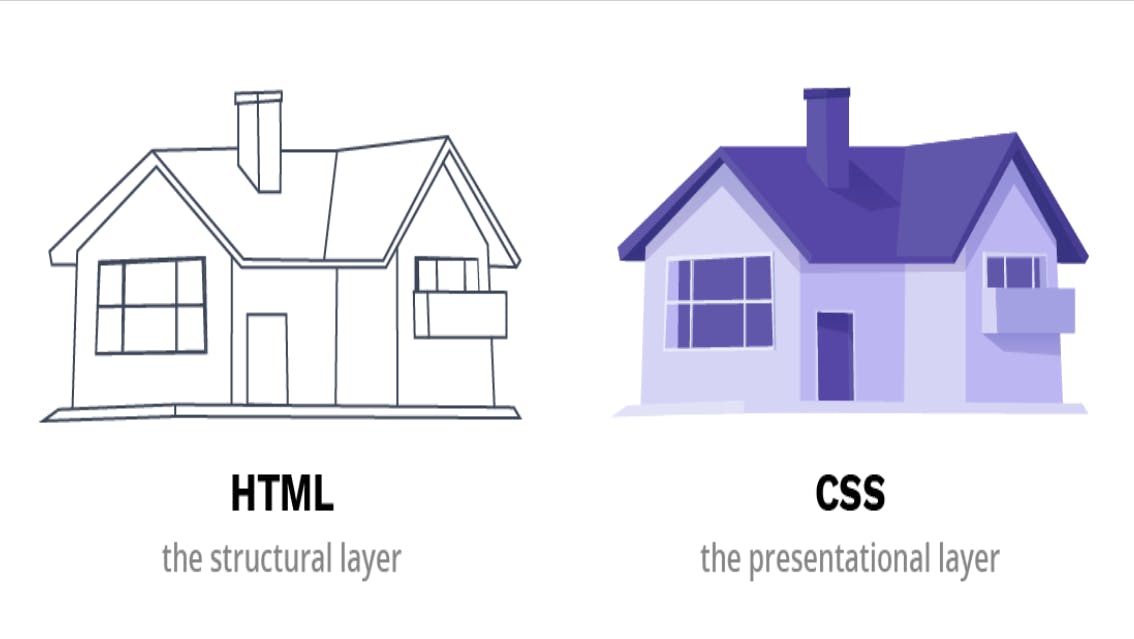
Now I think by seeing this image,👆 you are done about the basic things about HTML...😎
And finally, this is 👆 something that can help you with HTML and CSS!!
Meme on HTML and CSS 😅
Okay, let's have a small meme on HTML and CSS 👇
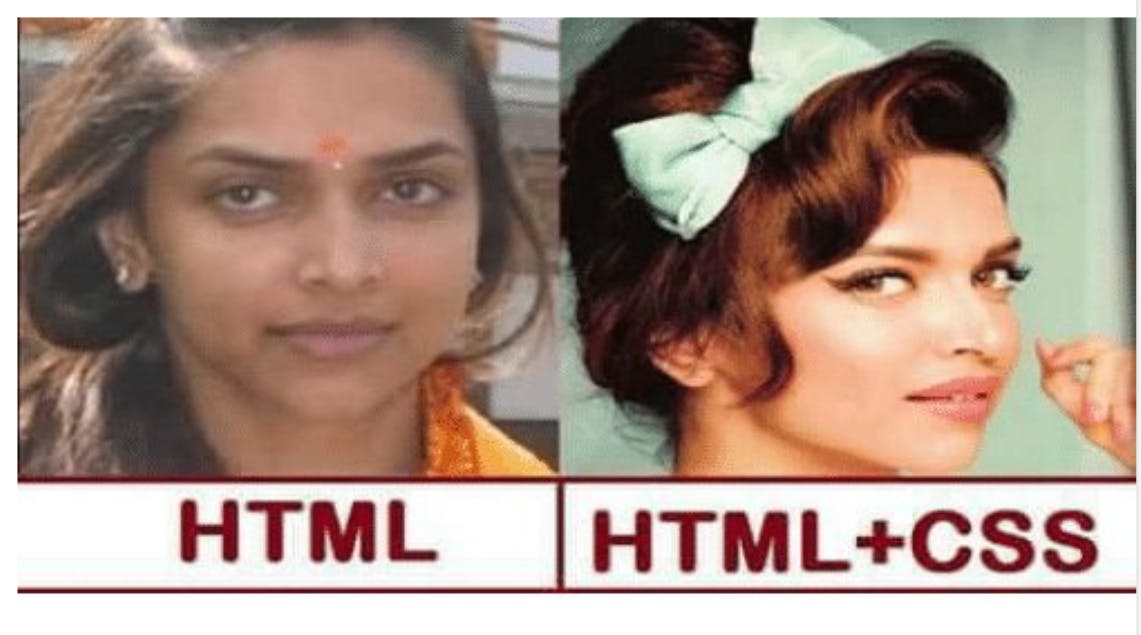
So now I think you are completely done with HTML and CSS knowledge!! 😂
Now we're gonna learn about <h1> to <h6> tags and <p> tag
Basic things about VS code🏈
So, I am using VS code which is the easiest way to write your code!!
In HTML we are having a boilerplate which is the most important thing and gives a professional vibe! 😉
So, I will start by making an HTML file called "index.html"
In VS code we're having a special thing for having a boilerplate if we just hit ! then we'll be having our boilerplate ready!! 😎
!
Result 👇
<!DOCTYPE html>
<html lang="en">
<head>
    <meta charset="UTF-8">
    <meta http-equiv="X-UA-Compatible" content="IE=edge">
    <meta name="viewport" content="width=device-width, initial-scale=1.0">
    <title>Document</title>
</head>
<body>

</body>
</html>
And BOOM💥!
Our Boiler Plate is ready!!
Basic Syntax of HTML🏉
In HTML we will be writing our code in the <body> tag!
So let's begin!!
To have a Heading on our website we use the <h1> tag... Now you might wonder what is <h1> tag is.
It's just heading 1
Let me show you an example of it:
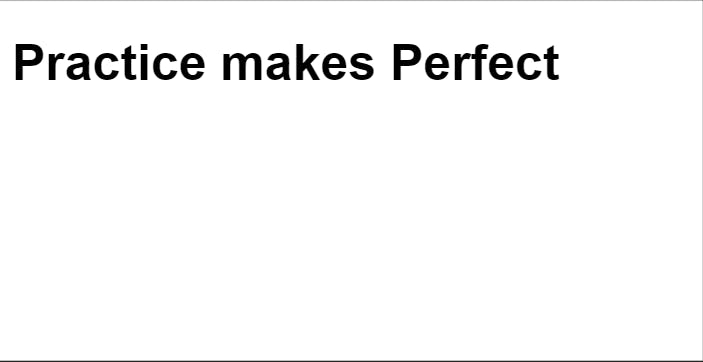
<h1>Practice makes Perfect</h1>
Output:
BOOM💥
And make sure you need to write this code in your <body> tag.
Images in HTML 🥪
So, for putting images on our website we need the <img> tag which does not have a closing tag like <h1>.
So, let me show you the syntax of the <img> tag!
- Take an image via google and copy the image link.
Like I have taken of Pizza

And let's come to the point that how to upload the image...
And we are having the source attribute and the short we'll use is scr="".
<img src="https://media.istockphoto.com/id/938742222/photo/cheesy-pepperoni-pizza.jpg?s=612x612&w=0&k=20&c=D1z4xPCs-qQIZyUqRcHrnsJSJy_YbUD9udOrXpilNpI=">
In the scr="" the attribute we need to paste the image link and we will be having on our site!! 😉
Hope you understand about images!
LET'S MAKE IT MORE CREATIVE BY ADDING HEADINGS AND PARAGRAPHS!
<h1>Let's eat Pizza!🍕🍕🍕</h1>
<h3>From La'Pinoz pizza</h3>
<p>We'll eat the margherita pizza with some toppings and extra cheese!</p>
<img src="https://media.istockphoto.com/id/938742222/photo/cheesy-pepperoni-pizza.jpg?s=612x612&w=0&k=20&c=D1z4xPCs-qQIZyUqRcHrnsJSJy_YbUD9udOrXpilNpI=" width="90%">
Output:
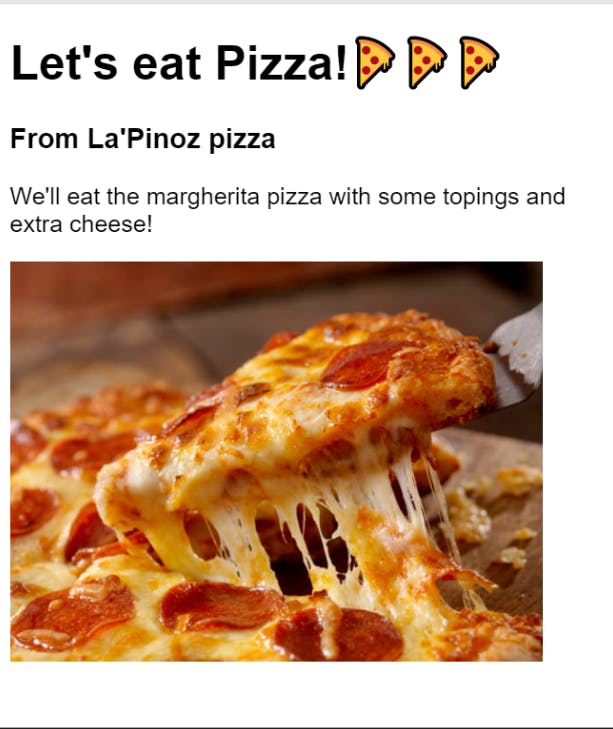
Here I have added a width attribute too.
Nesting🧵
So now, it's time to learn about Nesting which is the last thing in Part 2!!
Like if we want to group all of the HTML elements!
For that, we would use <div> tag which is the divider but I don't like this name so we can tell this is a container!!
Let me show you by example!!
<div>
    <h1>Let's eat Pizza!🍕🍕🍕</h1>
    <h3>From La'Pinoz pizza</h3>
    <p>We'll eat the margherita pizza with some topings and extra cheese!</p>
        <div>
            <img src="https://media.istockphoto.com/id/938742222/photo/cheesy-pepperoni-pizza.jpg?s=612x612&w=0&k=20&c=D1z4xPCs-qQIZyUqRcHrnsJSJy_YbUD9udOrXpilNpI=" width="90%">
        </div>
</div>
Here I have wrapped all of the HTML in a <div> tag and also I have wrapped the <img> tag for readability purposes!!

This is an example from scrimba and this will make it easy for you!
Basic Tags in HTML ✨
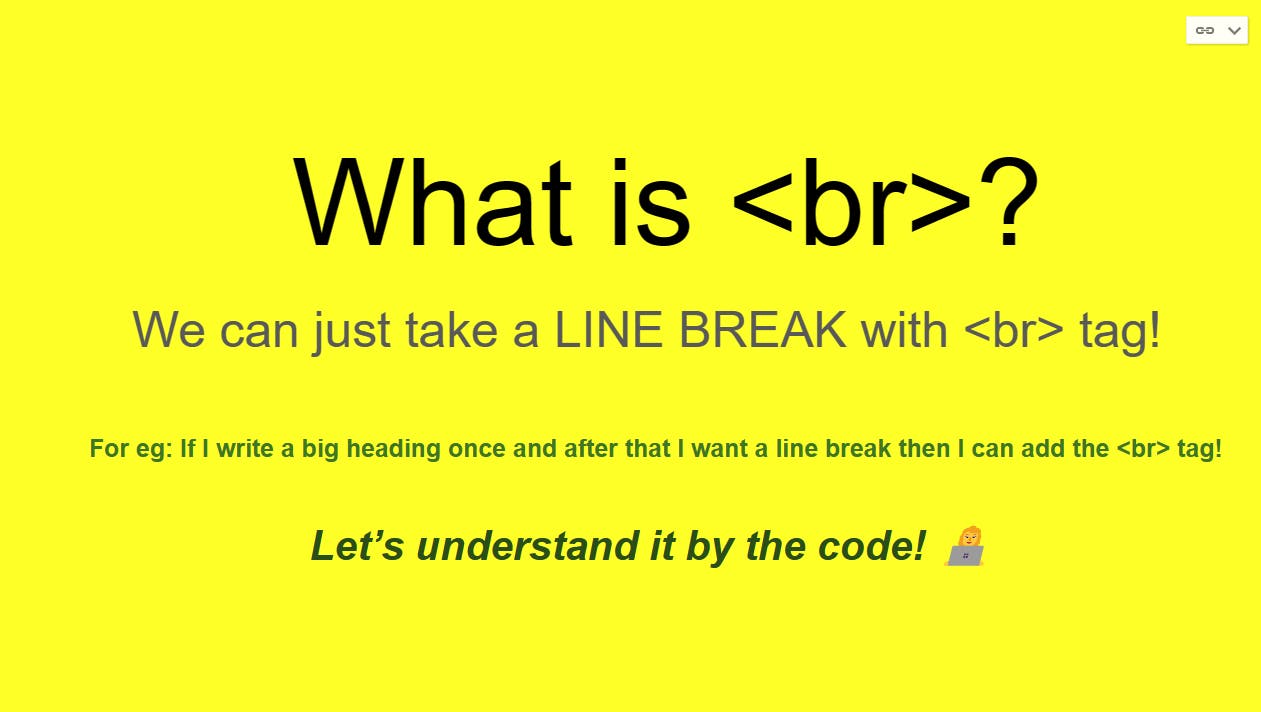
<br> tag ❤️🔥
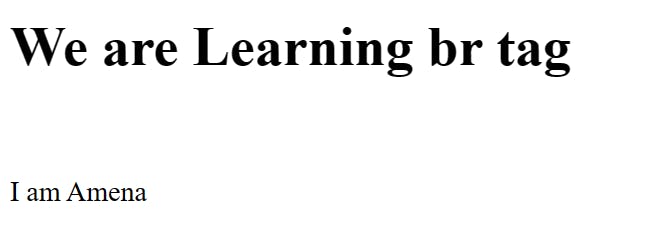
<h1>We are Learning br tag</h1>
<br />
<p>I am Amena</p>
OUTPUT:
Hopefully, you're cleared with it! ❤️🔥
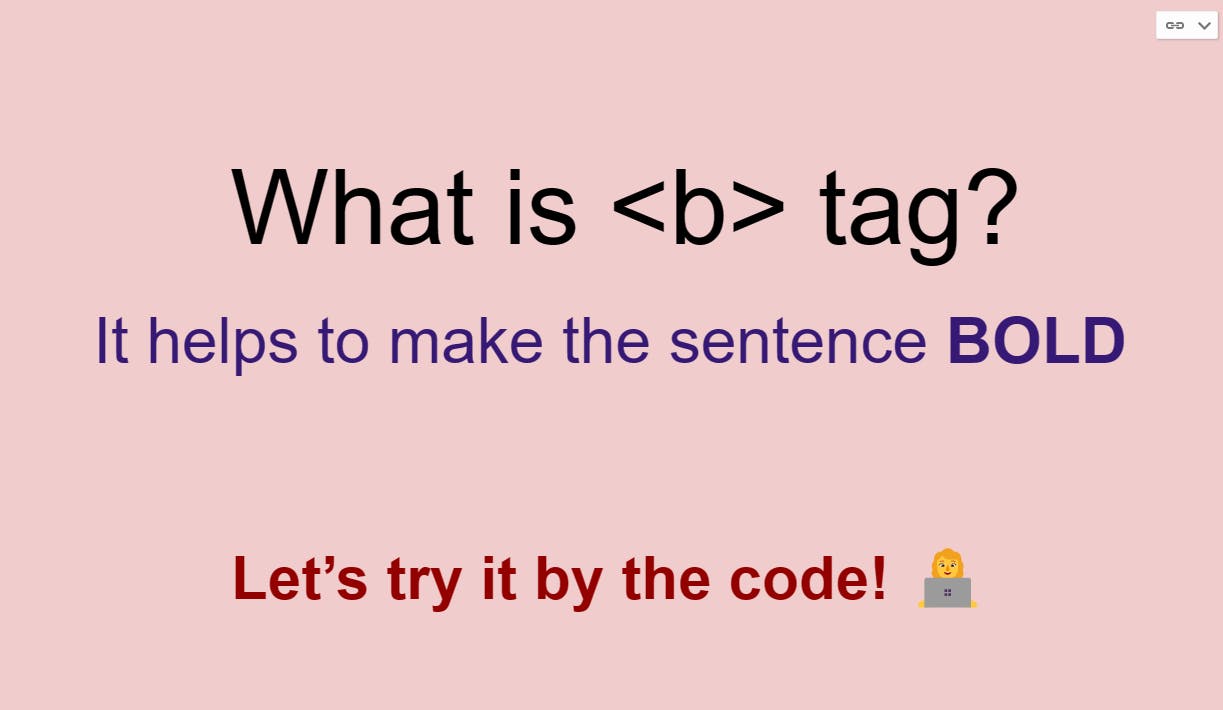
<b> tag! 🚀
<p>My YouTube Channel's name is <b>Code Arena</b></p>
OUTPUT:

Hopefully, you're cleared with it! 🚀
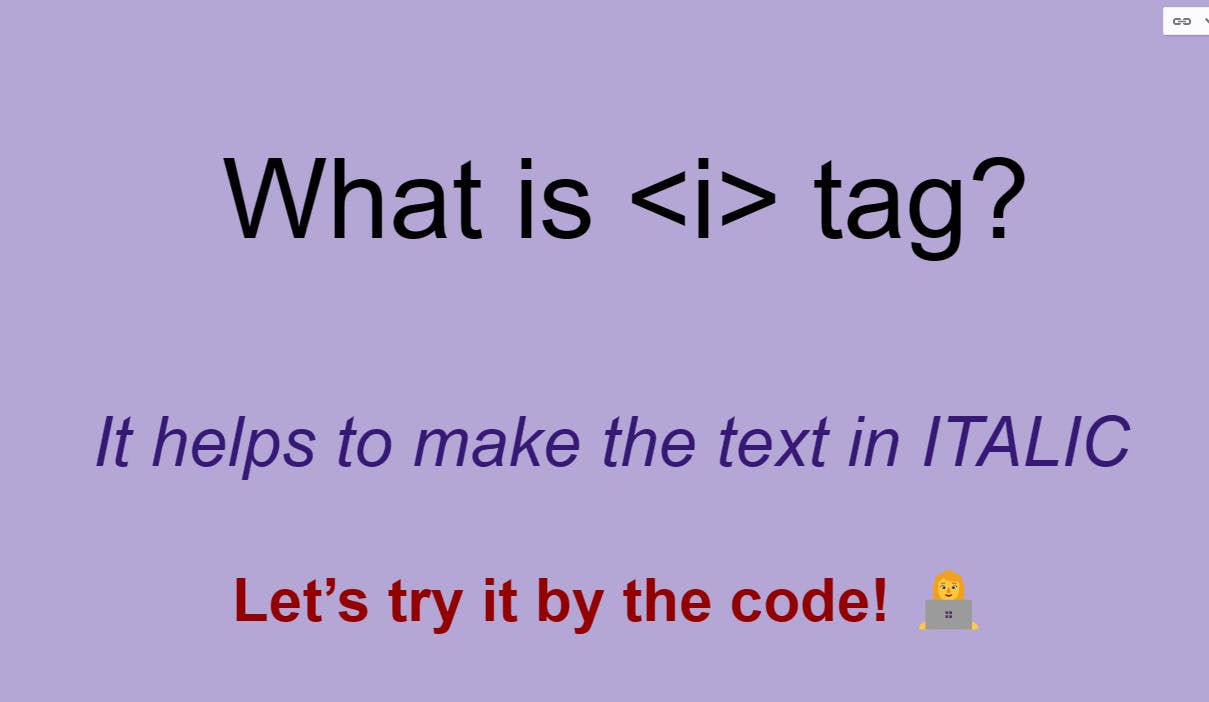
<i> tag! 💎
<p>My YouTube Channel's name is <i>Code Arena</i></p>
OUTPUT:

Hopefully, you're cleared with it! 💎
<u> tag! 🎯
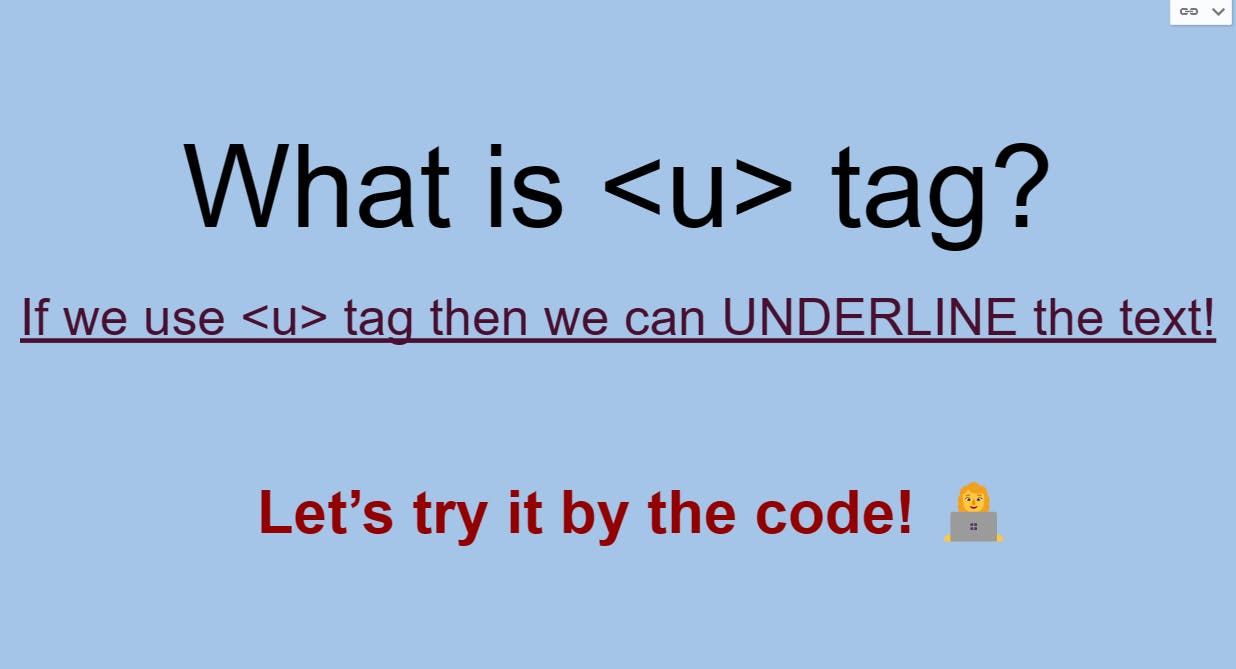
<p>My YouTube Channel's name is <u>Code Arena</u></p>
OUTPUT:

Hopefully, you're cleared with it! 🎯
<big> tag! 🎡
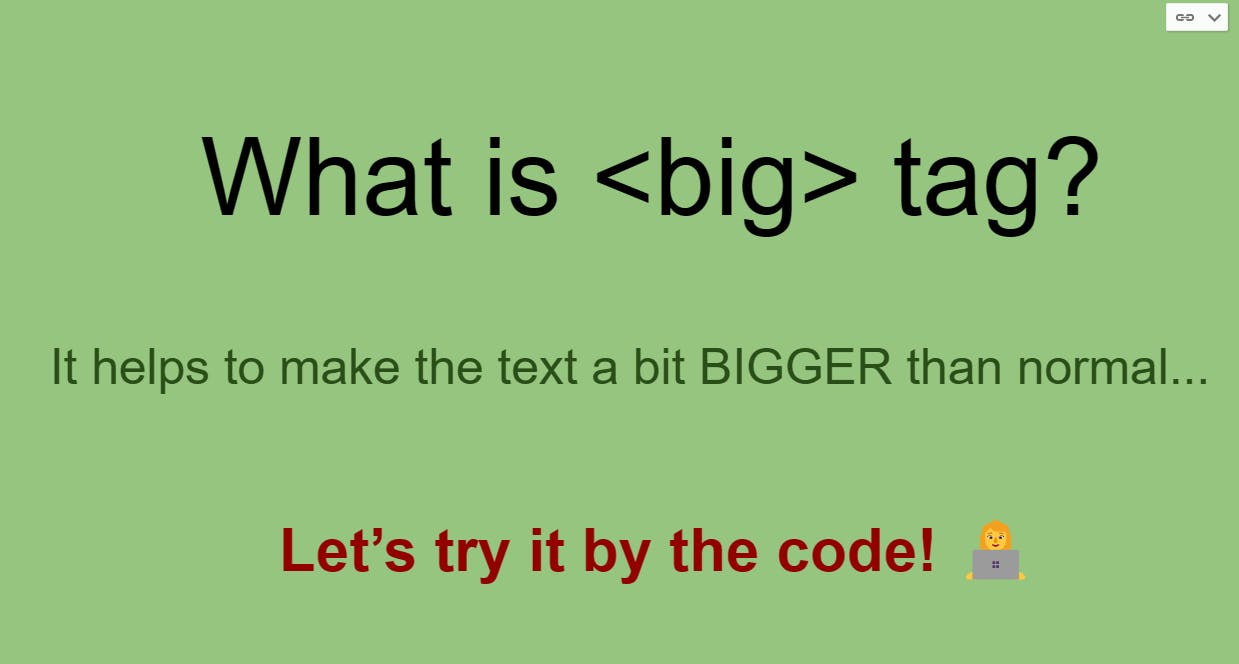
<p>My YouTube Channel's name is <big>Code Arena</big></p>
OUTPUT:

Hopefully, you're cleared with it! 🎡
<small> tag! 👻

<p>My YouTube Channel's name is <small>Code Arena</small></p>
OUTPUT:

Hopefully, you're cleared with it! 👻
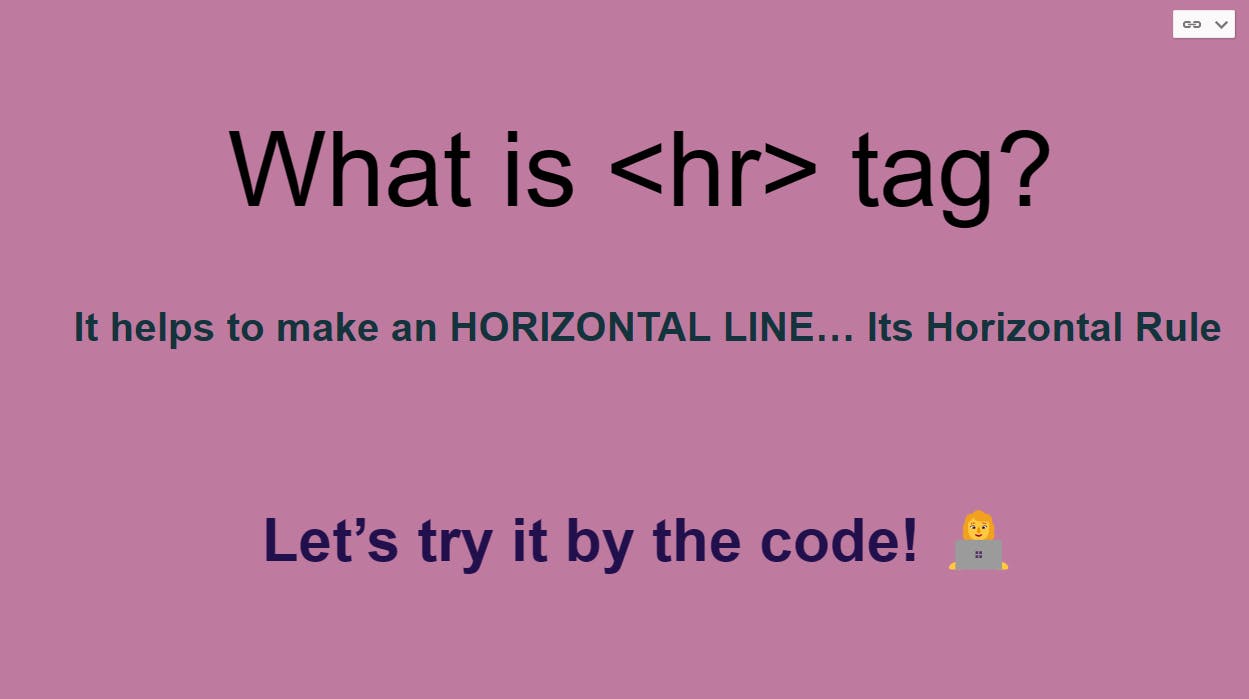
<hr> tag! 💚
<p>My YouTube Channel's name is <b>Code Arena</b></p>
<p>My YouTube Channel's name is <i>Code Arena</i></p>
<p>My YouTube Channel's name is <u>Code Arena</u></p>
<p>My YouTube Channel's name is <big>Code Arena</big></p>
<p>My YouTube Channel's name is <small>Code Arena</small></p>
<hr />
OUTPUT:
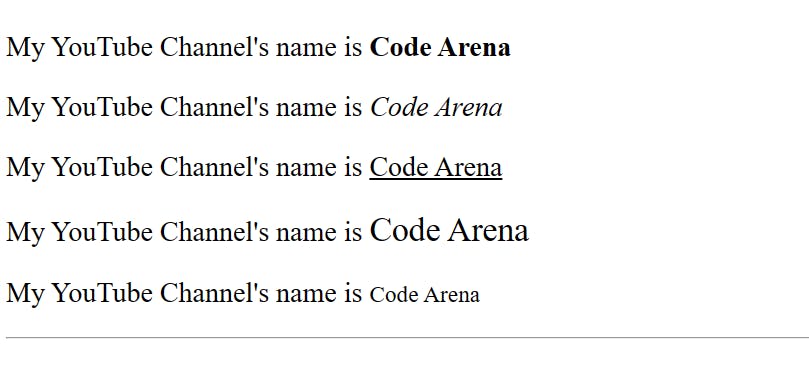
Hopefully, you're cleared with it! 💚
<sub> tag! 🎃

<p>O<sub>2</sub></p>
OUTPUT:

Hopefully, you're cleared with it! 🎃
<sup> tag! 🏏
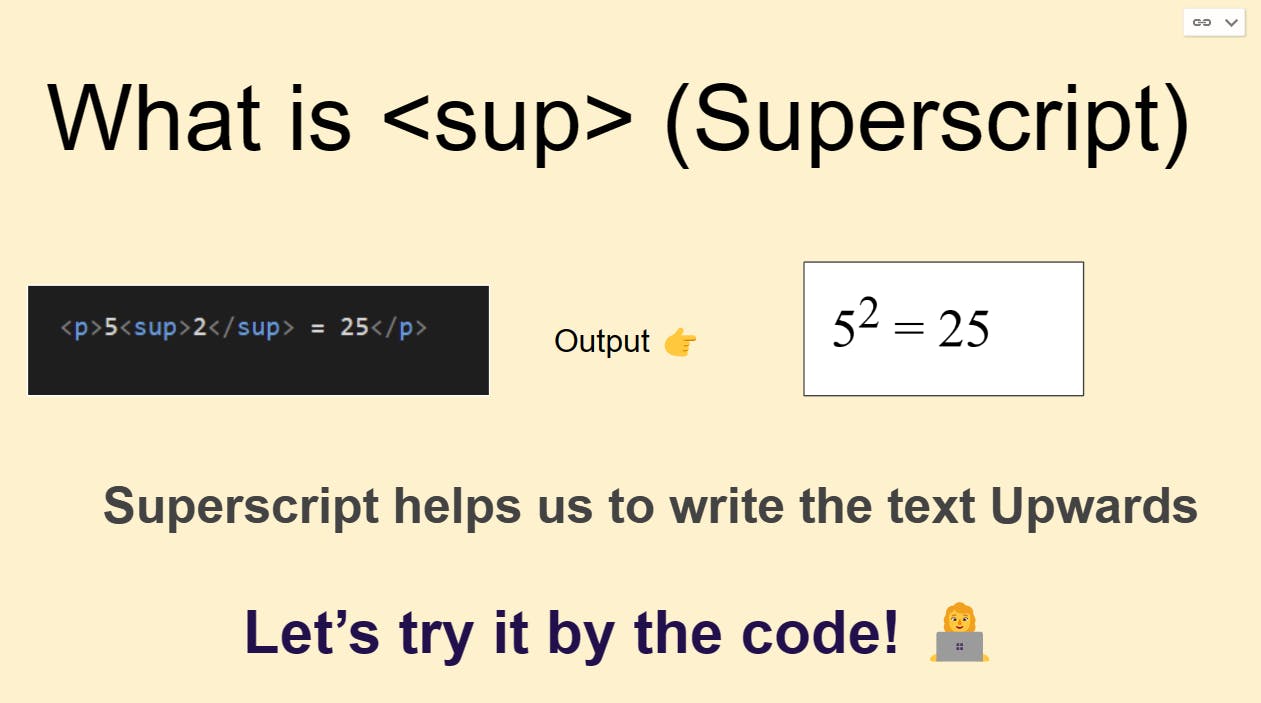
<p>5<sup>2</sup> = 25</p>
OUTPUT:
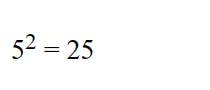
Hopefully, you're cleared with it! 🏏
<nav> tag! ✨
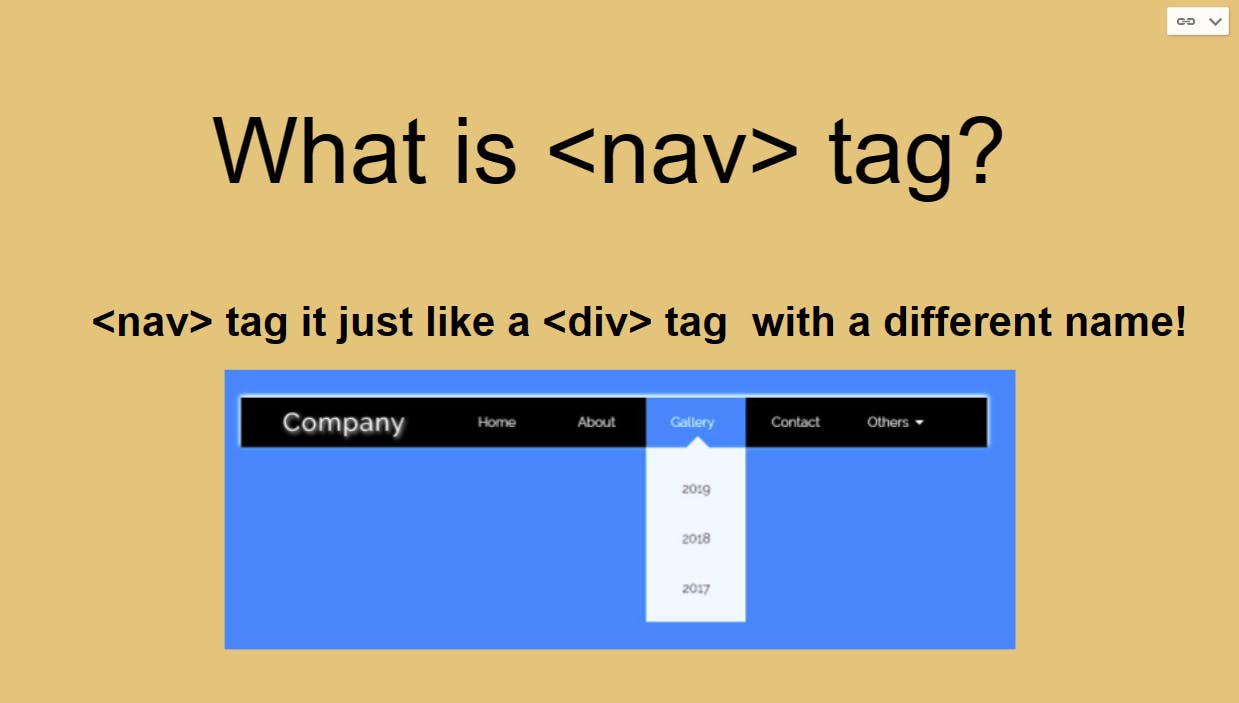
What is a nav tag? It's just like a <div> tag but with a different name!
In the eg. shown above, when we see such options above our screen this is a nav tag, We can div tag also but recommended is a nav tag! 🔥
Anchor Tags (LINKS in HTML)
Okay, now we'll talk about "<a>" tags means Anchor tags are LINKS!
Example:
<a href="https://www.youtube.com">Click here</a>
So, here we have created an "Anchor Tag" and in it, I have written "href" which is used to connect the links and I have linked it to YouTube!!
Let me show the OUTPUT...
OUTPUT of this code: 👇

If we click here then we'll be on YouTube isn't it amazing! 😍
Let's do something fun:
    <h2>I want to eat PIZZA let me find the Recipe! 😉</h2>

    <h3>Let's search in YouTube!! 🙌</h3>
    <a href="https://www.youtube.com">Click here</a>
OUTPUT:
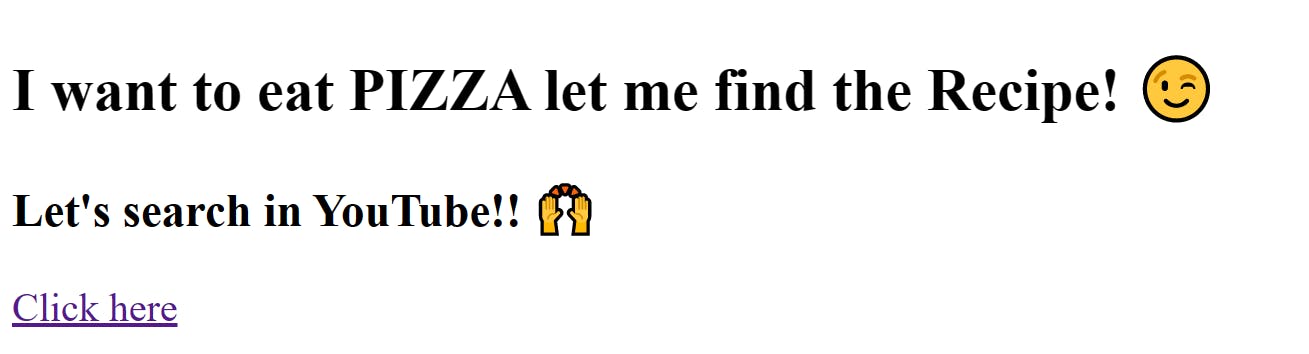
Hopefully, you understood the concept of creating links!
I want you to write these things and understand!
Open the link in the new tab
<a href="https://www.youtube.com" target="_blank">Click here</a>
If you want to open this link in the new tab you can use "target_blank"
I know it's weird but it is what it is...
Proper Structure in HTML
As you all know nowadays we use HTML5 which is the latest version of HTML.
So, the proper structure will be:
<!DOCTYPE html>
<html lang="en">
<head>
    <meta charset="UTF-8">
    <meta http-equiv="X-UA-Compatible" content="IE=edge">
    <meta name="viewport" content="width=device-width, initial-scale=1.0">
    <title>Document</title>
</head>
<body>

</body>
</html>
If you use VS code so you can just hit "!" then you will see this whole thing because professionals do like this...
Lists In HTML
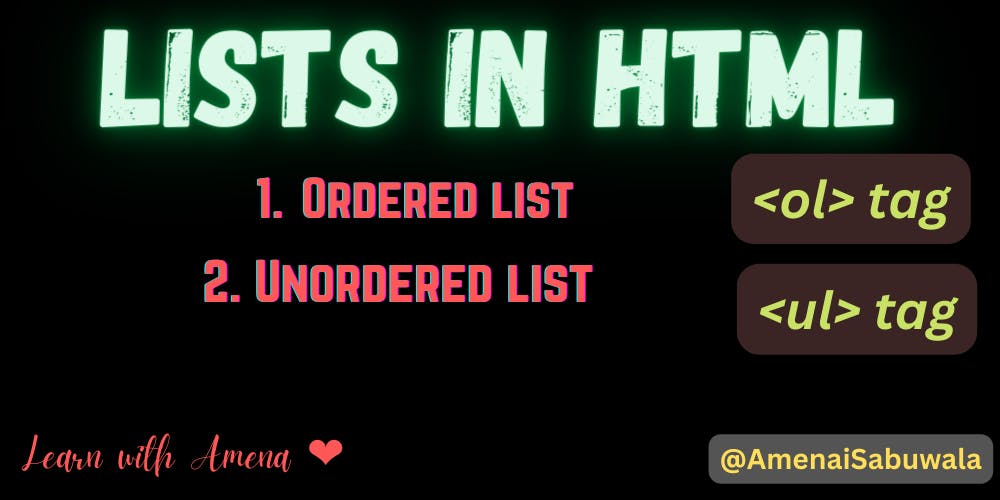
So, there are two types of lists: 1. ordered list & 2. unordered list.
The short for the ordered list is: <ol> tag
The short for the unordered list is: <ul> tag
Inside these lists, there are LIST ITEMS: <li> tag
Ordered Lists
    <!-- Ordered List -->
    <ol>
        <li>Ludo</li>
        <li>Chess</li>
        <li>Monopoly</li>
        <li>Game of Life</li>
    </ol>
Output: 👇
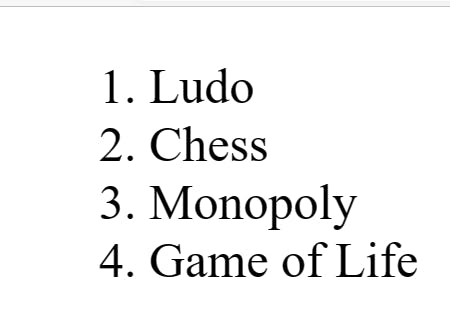
- The code I have written is so simple and normal*...*
Basically, In the Ordered list, there is a condition and in that condition, it automatically provides the numbers like 1......2.....3.....so on!
Unordered Lists
    <!-- Unordered List -->
    <ul>
        <li>Ludo</li>
        <li>Chess</li>
        <li>Monopoly</li>
        <li>Game of Life</li>
    </ul>
In this code, there is the condition that if we write an Unordered list It will Output like this! 👇

Hopefully, You understood Lists in HTML...
HTML <input> Tag
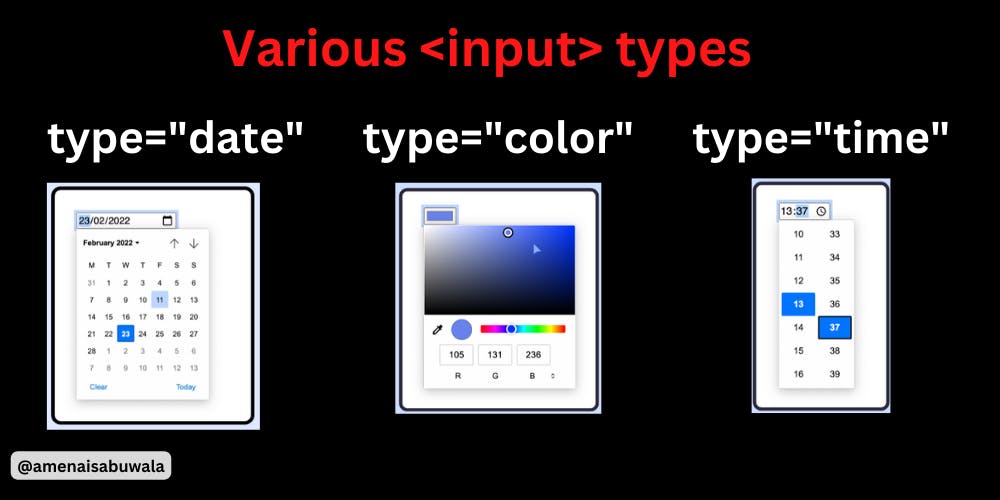
The <input> element is an HTML tag that is used to create various types of form controls on a web page.
Different input types:
https://developer.mozilla.org/en-US/docs/Web/HTML/Element/input#input_types
   <form action="">
        <label for="firstname">First Name</label>
        <input type="text" name="firstname" id="firstname" placeholder="first name" required>
        <label for="lastname">Last Name</label>
        <input type="text" name="lastname" id="lastname" placeholder="last name" required>
        <input type="email" required>
        <input type="color">
        <button>Submit</button>
    </form>

Input tag types!
<input type="range">
<input type="radio">
name should be same for every input element otherwise two options can be selected.
Form element:
The <form> element is a container for different types of input elements, such as: text fields, checkboxes, radio buttons, submit buttons, etc. The purpose of a form is to collect data from users, such as their name, email address, and other information
The most common attributes of the <form> element are:
action: specifies the URL of the script or program that will process the form data when it is submitted.
method: specifies the HTTP method to be used when submitting the form data, which is usually either "get" or "post".
name: specifies a name for the form, which can be used to identify it in JavaScript code or on the server.
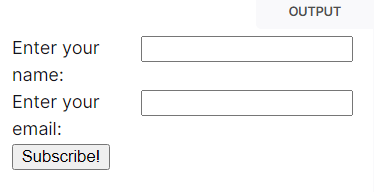
<form action="" method="get" class="form-example">
  <div class="form-example">
    <label for="name">Enter your name: </label>
    <input type="text" name="name" id="name" required>
  </div>
  <div class="form-example">
    <label for="email">Enter your email: </label>
    <input type="email" name="email" id="email" required>
  </div>
  <div class="form-example">
    <input type="submit" value="Subscribe!">
  </div>
</form>
Button:
In HTML, the <button> element is used to create a clickable button that can trigger an action or event on a web page.

Buttons are required on any website, like buying any product there is a specific button there. And we'll learn that only!
<button>Buy</button>
Output:
Boom💥
placeholder Attribute
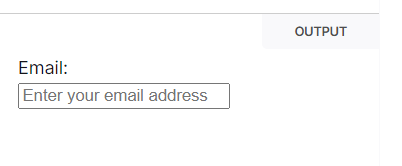
The placeholder attribute specifies a short hint that describes the expected value of an input field
<label for="email">Email:</label>

<input type="email" id="email" name="email" placeholder="Enter your email address">
<label>: The Label element
The <label> HTML element represents a caption for an item in a user interface.
<form action="">
        <label for="firstname">First Name</label>
        <input type="text" name="firstname" id="firstname" placeholder="first name">
        <label for="lastname">Last Name</label>
        <input type="text" name="lastname" id="lastname" placeholder="last name">
        <button>Submit</button>
    </form>
Output:

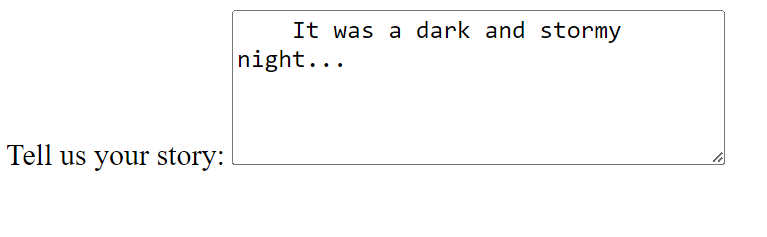
Textarea
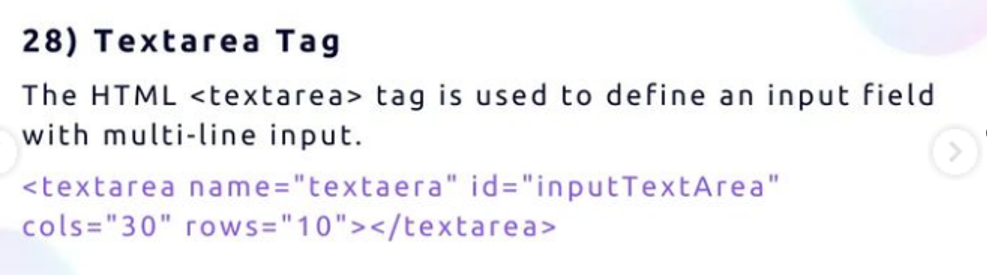
<label for="story">Tell us your story:</label>

<textarea id="story" name="story"
          rows="5" cols="33">
It was a dark and stormy night...
</textarea>
Checkbox
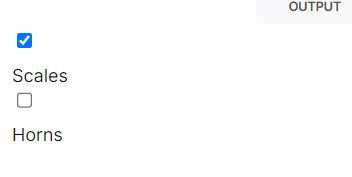
<div>
      <input type="checkbox" id="scales" name="scales" checked>
      <label for="scales">Scales</label>
    </div>

    <div>
      <input type="checkbox" id="horns" name="horns">
      <label for="horns">Horns</label>
    </div>
HTML <select> tag
HTML <select> tag is used to create a drop down list with multiple options. The <option> element is nested within <select> tag for defining options in a list.
Value is sent to data and text is shown to outside
<span>: The Content Span element
the <span> element is an inline-level HTML tag that is used to group and apply styles to inline elements without affecting the overall structure of the document.
<div>: The Content Division element
the <div> element is a container element that is used to group together other HTML elements and apply styles to them.
<div>
  <h1>Welcome to our website</h1>
  <p>Our company provides top-quality products and services to customers worldwide.</p>
</div>
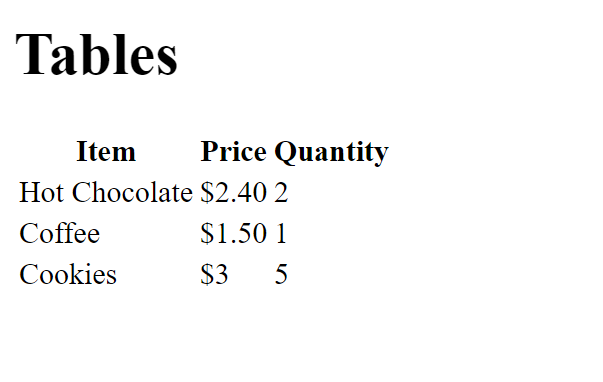
Tables
open this: https://www.w3schools.com/html/html_tables.asp
<body>
    <h1>Tables</h1>
    <table>
        <thead>
            <tr>
                <th>Item</th>
                <th>Price</th>
                <th>Quantity</th>
            </tr>
        </thead>
        <tbody>
            <tr>
                <td>Hot Chocolate</td>
                <td>$2.40</td>
                <td>2</td>
            </tr>
            <tr>
                <td>Coffee</td>
                <td>$1.50</td>
                <td>1</td>
            </tr>
            <tr>
                <td>Cookies</td>
                <td>$3</td>
                <td>5</td>
            </tr>
        </tbody>
    </table>

</body>